1 Line CSS Positioning Blazor Style
I found a really good YouTube video from Google Chrome Developer channel that I am piggybacking off of for this post. I found the content very interesting and I wanted to see what it would take to first port it s Blazzor application, then how to implement the layouts in a Blazor component library where I can use them in any project.
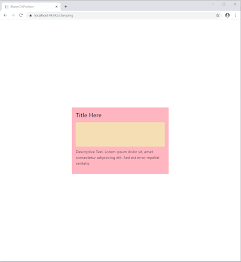
Please note, even though I am a fan of Bootstrap and other CSS frameworks, I have been on a push lately to write my own CSS. These layouts are pure HTML and CSS.
I won't cover the details of the 10 different layouts and the 1 kay line that makes them work, I do highly recommend you watch the video, it is very educational on CSS layouts.
To demonstrate the 10 layouts, I have created a razor page to display the layout. You can review the source code provided for the details
10 Layouts:
1. Center - All child content is centered within the parent container
2. Clamping - Clamps child content within the parent container
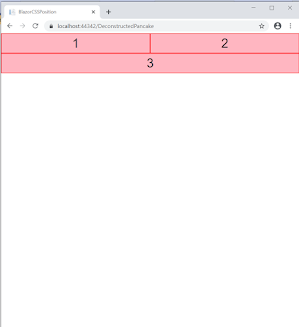
3. Classic - Most common layout for web sites and applications
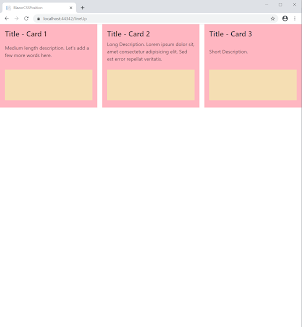
6. Line Up - Great for cards and images
7. RAM (Repeat Auto MinMax) - Responsive layout
8. SideBar- Basic Blazor Layout
9. Stack - Another very common layout
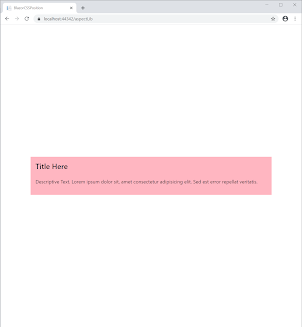
10. Aspect Ratio - This is using an experiential CSS property "aspect ratio"
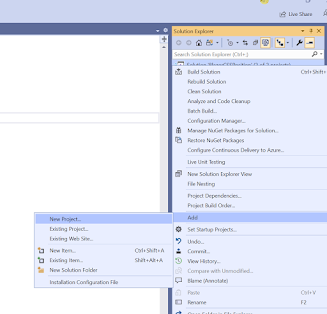
Create the Component Library
2. Add the Project to your Blazor Project
3. Add the Route Assembly into the app.razor file.
Calling pages from the Component Library
Gotchas
- Don't forget to add the route to the App.razor component so it can find the pages in the library
- Use the _content when referencing files in the library, CSS Images, JS
- Watch for name class conclusions on the CSS. If you have several component libraries the CSS class is available anywhere in the application.
- I used pure CSS for the layouts, but keep Bootstrap for the main page. This caused some conflicts for the APP HTML section that is the _Host.html. Going forward I will stay consistent with either a CSS framework or no framework







%20built%20with%20Blazor.%20The%20scene%20features%20a%20dynamic%20web%20app%20running%20o.webp)

Comments
Post a Comment