NOTE: This applies to .Net 6.0 Only
I have continued to keep an eye out for a quick and easy database access layer database for use with my test projects and my blog projects. I thought I had found one with SupaBase, but I quickly ran into limitations with the free version. Mainly the number of databases you can have (2). So I am back with another find.
I will be trying the free tier of the Azure Cosmos database. Microsoft announced a free version of Cosmos about a month ago. Then with .Net 6, they added support for EntityFramework and Cosmos DB.
The free tier does have some limitations of course:
1. Only 1 free tier DB per subscription
2. Upto 1000 RUs
3. Upto 25 containers. All the containers pull from the same 1000 RUs
4. No free tier for serverless
Any free DB system will have limitations, these seem acceptable thus far.
Project to build
We will be building a simple sample application that will just add records to the cosmos DB. This is meant to just wet your whistle on what you can achieve with the combination of EntityFramework and Cosmos DB.
Steps
1. Create our entities
2. Create the DB
3. Add Users
4. Validate users were added to the DB.
Create Entities
We will need a User entity:
public class User
{
public int Id { get; set; }
public string? Name { get; set; }
public string? Email { get; set; }
public string? Password { get; set; }
public string? Status { get; set; }
public List<Account> Accounts { get; set; } = new List<Account>();
}
public class Account
{
public string? Name { get; set; }
public float Balance { get; set; }
public int AccountId { get; set; }
}
Notice that there is a collection of Accounts within the user object. This will be saved as part of the user object so we will not need a separate data set in the DB Context for Accounts.
Create DB
Normally you would use the Azure Portal or a script to create your database, but we are keeping things simple so we will let Entityframwork create ours.
We will need to create a class to construct our DB Context. Again to keep this simple we will just hard code the connection string in the class. DO NOT do this in a production environment.
public class TestContext : DbContext
{
public DbSet<User> Users { get; set; }
protected override void OnConfiguring(DbContextOptionsBuilder optionsBuilder)
{
optionsBuilder.UseCosmos("https://localhost:8081", "************", "TestDb");
base.OnConfiguring(optionsBuilder);
}
}
I like to run things locally before I publish to Azure. With Cosmos, it is no different. There is a Cosmos DB emulator that you can download and run to develop locally. Find it
here.
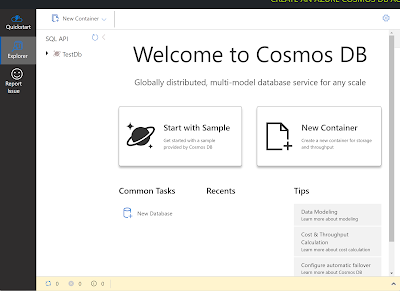
Once it is installed and running, when you go to the hosted page (https://localhost:8081/_explorer/index.html) you can get the connection string. The hosted page provides a couple of cool features like the explorer that we will use to validate that the users were added in just a few lines.
When we start our sample application we want to make sure the database is created and ready to go. The "EnsureCreated" we are only doing because this is a sample application.
using var context = new TestContext();
context.Database.EnsureCreated();
Add Users
Adding a user is just like any other Entity Framework application:
var account = new Account()
{
AccountId = 1,
Balance = 5000,
Name = "Test Account 1"
};
var user = new User()
{
Email = "me@me.com",
Id = 1,
Name = "me",
Password = "test",
Status = "New",
};
user.Accounts.Add(account);
context.Users.Add(user);
context.SaveChanges();
That is it. The user is now added to the database.
Cosmos DB Explorer
User Table
As you can see the user object is stored in the DB as JSON. Pretty cool.
That was just part 1. Now for a really cool trick, at least for me. I added a new Entity, Products to the DB Context, created that object, and saved it to the database. And It just worked. It added the new collection (Table). I did not have to do any additional configuration to update a DB schema.
For me, that is well worth the move to Cosmos DB with Entity Framework.
Summary
Even though this is just a simple project and it requires .Net framework 6, I hope you are excited to expand your use of Cosmos.
For me, this is just the start of what I have planned. Much more to come.


%20built%20with%20Blazor.%20The%20scene%20features%20a%20dynamic%20web%20app%20running%20o.webp)

Comments
Post a Comment